sunnuntai 20. elokuuta 2017

Traditional scale walker

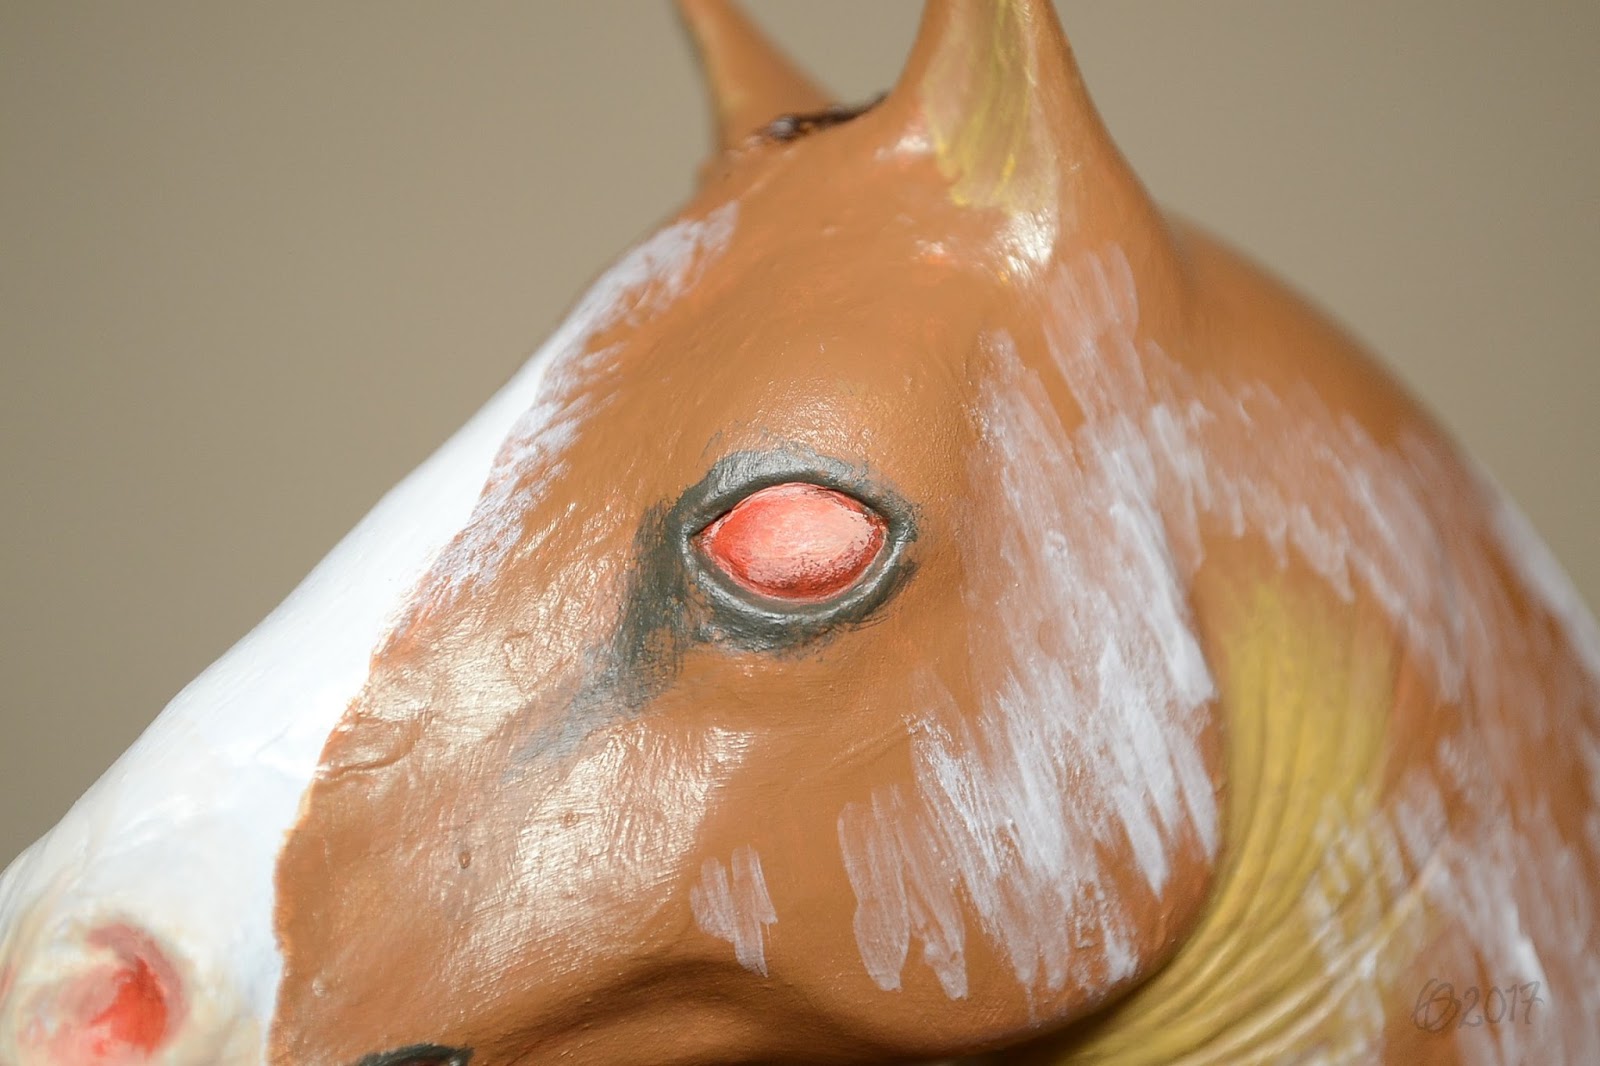
I'm not going to tell much. It's just a toy horse (bad Breyer copy) that altered into a tennessee walking horse. Or something like that. Materials were airdry clay and acrylics.

I named him Rollo; the long, official name is long, and no one needs to use it, but I have that kind of habit to call my models stupidly.

Have his process from, first, what he originally was and how I resculpted then:

After I freed the horse from his ugly plastic tack and washed with water and soap...


Some days of his life had clearly been spent under the sunlight.

Compared to PAM. She looks like a horse next to that creepy toy.

First resculpts and first (brainless) paintjob. Was easier to photograph but I cursed that blueness while adding white base paint later. The green wire holds his tail chain in place while the glue dries.

Yet more clay on before base paint. Wrinkles, mane and tail.


The tail got sculpted almost completely once, that's why it looks rougher as I generally do.


Someone (me) wanted this model to be takc friendly! It's difficult for a person who loves sculpting manes.

Knife attacked his front (resculpted) hooves...


And after sculpting, let's see his painting process, starting from base white...


I don't love those hind legs, I don't. But I can't fix it now.


Yea, eyes sit too low!


...then come the actual colors (notice that I photographed both sides of same step)...

Digital design for color idea...

...and how the roaning/sabino modifies it.

First layers of brown, to see how I add the patterns. Not that much like I drew but hmmmm who cares.


Front end done. A good "why only one layer is not enough" -pic to show people.


Pangares added.


Colored area skin color added.


Then came the white hairs! I used three different paintbrushes for that, and almost killed my nerves, but I really wanted to do that pattern.

First amount of white hairs...


...second amount of white hairs...


...and a bit more white hairs. Also painted his white area skin color, and mane and tail (or started them).


Hooves painted (water-soluble colorpencils washed with varnish). Eye started.


Here's how I painted the eye whites, or, practically, how I simply started the eye:

Before painting.

Just bright red...

...that got smudged with white to create pinkish.

As finished, with varnished surface, eyes and all details:


Closeups for the eyes. They look better as I expected. And still they are nothing like I know good eyes to look... But at least the ugly barbie horse look is off. The eye whites are purposely very visible and reddish, and different from each other. 

Non-softened flash to show details of how I painted the irises.


Details of fur pattern and tail.Also need to note that I really wanted to keep pangare areas visible enough, although I know... Well, it's not so realistic, but model horses are a form of art... I also think that the rougher hair texture (as I have no brains for drawing each hair with a colorpencil or so) could just tell about the horse's worse living conditions.


And pics where Rollo is with his owner, an old (and very tall) double rex dumbo rat man. (I think I am going to fix the doll's arms once, I'm not pleased with them. Just fixing the proportions.) I am very poor with soft material, that explains the doll's look a bit (not face, that's the easy part).

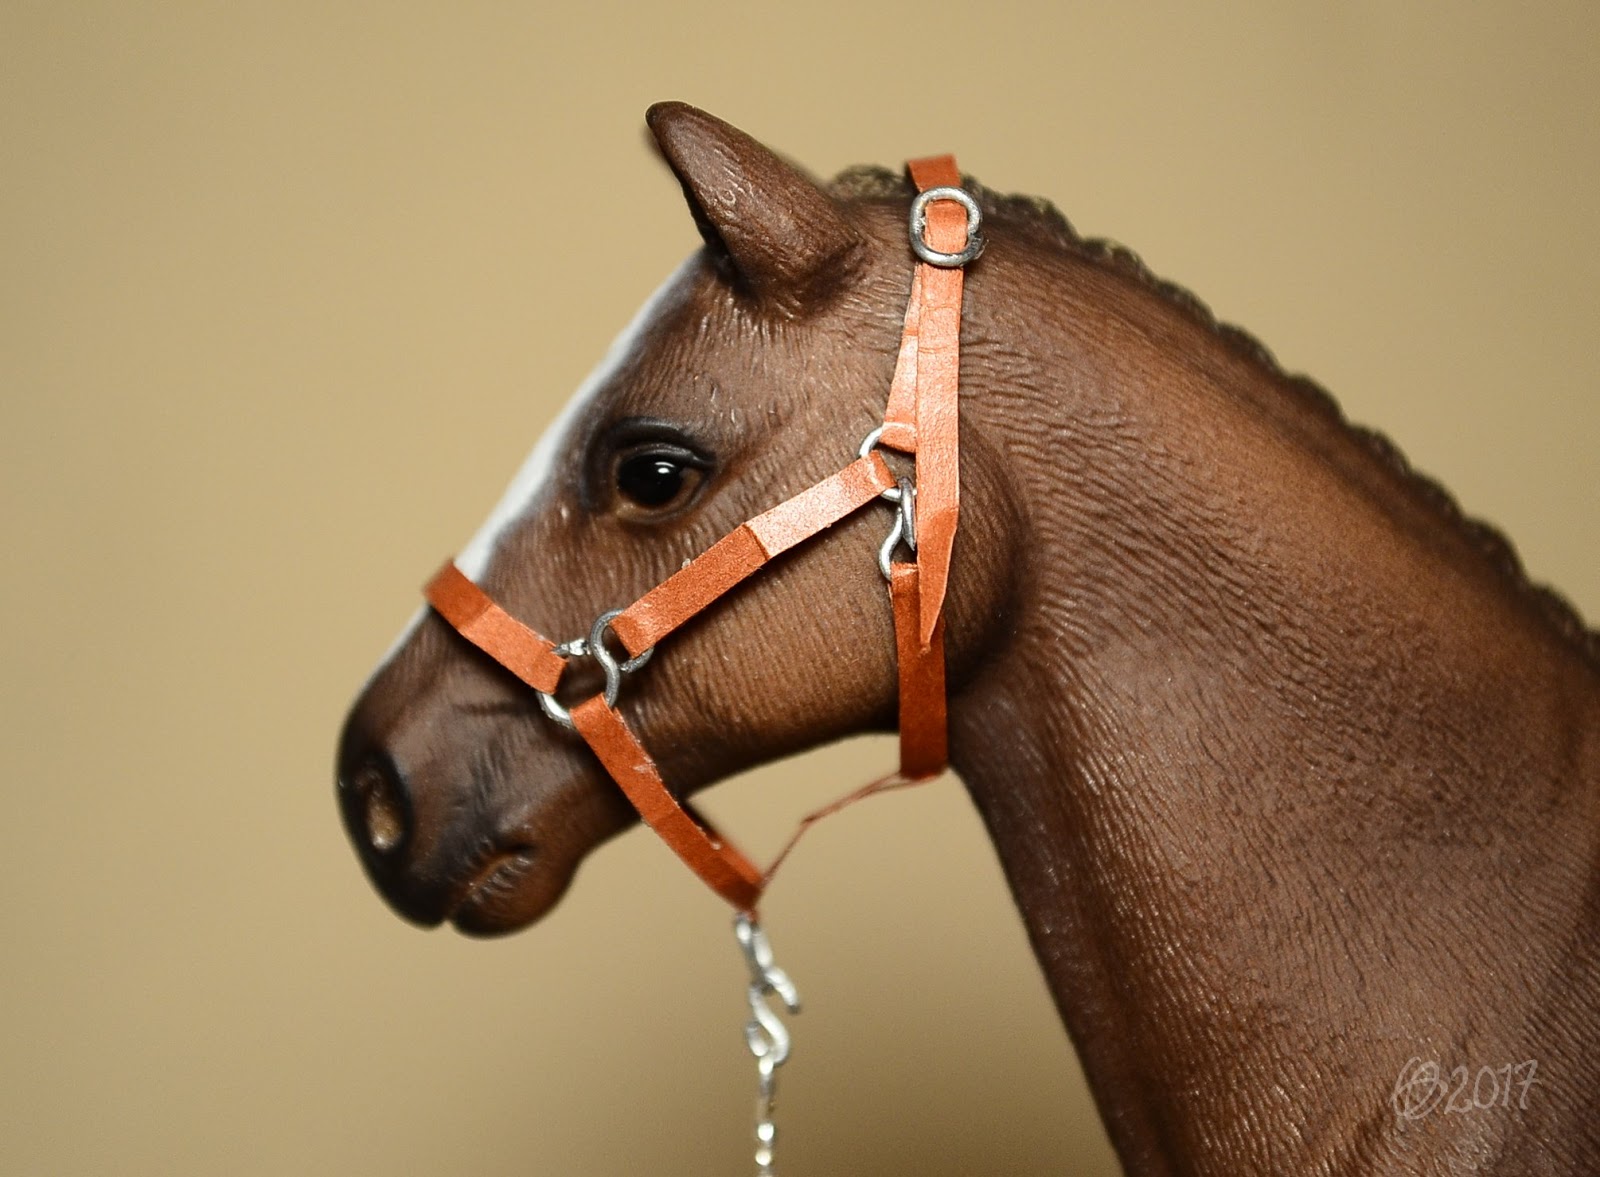
Rollo got a halter. Not that weird, but that was my first ever 'real' traditional scale halter with leather. Tongue buckle added very recently as that stack of straps is so difficult to put on the horse (and doesn't fit anyone really)...


Professor doesn't see with that lighter eye, it's blind. But he his ears are working.

Nice horse, but still held with chain? Poor nice horse.

In the next photos Rollo wears hackamore and curb bit. My tack never looks as realistic as I wish, but most of the time I just try to make it WORK like real. Just like my dolls. The bridles were made from leftover pieces that I have too much for tackmaking... And is it needless to say that those are not Rollo's personal tack at all. (I also need to fix those stupid side reins once.)


Really that tack seen in the pics are different pieces that are made at different moments. Should do something better, yes, maybe at the future...

Well, what next time? Schleichs I have finished?

keskiviikko 5. heinäkuuta 2017

A traditional scale finnhorse

This blog haven't been abandoned; I just have realised how less non-Finns read it. I already have two blogs in Finnish of this hobby, and they're my best way to tell about model horses for Finnish people. This is not 'meant for' them but for those who don't read/talk/write Finnish. So I feel a bit stupid hwen knowing that non-Finns don't seem to know that this blog exists.

Anyway, I just had a pause. I have published things to those other blogs, but right now I need to update here too.

Straight to the thing: I have finished two traditional scale customs. From them the earlier one is the star for this text... It's a big, red chestnut finnhorse gelding with flaxen mane. Just typical finnhorse except that he is so huge. Clay was some airdry clay (good enough for me), painted with acrylics. To mention, I resculpted the eyes, because that is a thing I want to try make better... In my opinion (and knowledge of what horses look like) eyes are a thing what should always resculpt if they're originally badly shaped (some toy horses have human-like eyes), to give the horse more believable look and expression. This time the eyes are not best ever, but they are better than without resculpting.

His flaws are in anatomy, in a way I can't fix. And he wasn't meant to become a finnhorse at all, but something happened and yes, I have one.

Called him Raaskis Ratketa, nicknamed as Raaste. Raaskia means "have the heart to"... And ratketa is "resolving" or "ripping apart" (when meaning physically). Mostly I choosed the name because it matches the horse's color and sounds interesting (I like my language).

Finally... So that's just a nice thingy. Bla bla. Photos!


If anyone is wondering, why his 'muscles' look so weird... I said he has anatomy flaws. I once tried to add him better muscles, but then realised that the horse is too large for me to sculpt... How stupid it feels, but that's what it is. Trads are too large for me to customize; I still don't mean ti couldn't do that. But I have already known that I'm not good with too toy-like victims who have no details, as everything needs to be done with own hands. They are too smooth for my skill. (Schleichs are easier to resculpt muscles for.)


But because I also want to add tints to horses when I paint, I painted the pangares as they are forced to go in this model. I hate that messiness in toy horses, but can do nothing right now.


The head is the most photogenic part in this horse. Although his ears are stupid (toy horses... whyyyy). here you also see his face markings, what I painted with some artist's freedom. 


I wanted the horse to be tack friendly, so the forelock had very little possibilities...


I see, my way to sculpt and paint seems to be really rough, sometimes. I have no patience. Same problem is on paper too, so I can't paint or draw anything for example hair-by-hair (when drawing or painting animals who have clear fur texture, like long fur). That's rare when it happens because I get crazy if I try. And that patience is a thing I can't learn to have more, so, do not claim that it's only about practice...

I also already photograped Raaste with his rider, a rat dude called as Hupi. Sorry from the fact that he has nothing understandable on... And the halter Raaste is wearing is made ages ago. It works but doesn't look that good. Rope is new. The horse gets his personal halter made later when I have right mood.

Raaste looks good in this kind of photos.


Next time I show the second finished custom. That's a TWH, but more about it later. 

tiistai 23. toukokuuta 2017

Schleich halters from paper

Thanks to internet, I once got an idea to try another of artist's best friend for tackmaking: paper. Shortly, I made halters for Schleichs and used paper as material.

First tries are never so good as they should. I colored white paper with a blue Copic marker, and then put painter's tape on it. Well, to keep it less weak... And that only because I have no clear tape here right now.

While I cut the taped paper piece to lace, I also colored another area of the paper and sealed it with varnish (only one side...)! That is what worked! I cutted that to lace too. The taped laces got sealed after I cutted them, not so easy thing...

Then I, of course, made halters. They were more OK than good, but I was going to make more and try different papers also.

Next I tried thicker, brown paper. I drew the lines to make it easier to cut, and sealed that from both sides with varnish, before I cutted the laces.

Well, it got four individual halters to see that it works. I now know that this is a good material, if you know what you do. Paper is not similar to leather, it is weaker and sharper, easier to cut but worse with fails. When used well and carefully, it seems to look perfect.

Here are the examples.

First blue halter, pony or small horse size. The noseband's upper part is slightly too long and loose, but better that instead of too narrow noseband. (Narrow nosebands are a big problem in model horse tack...) Could fit better without the 8 -shaped ring piece, but well, I often make those just to make a bit longer cheekpieces. Too much visible mistakes what I don't bother to fix as I fought with this halter so much already.


Second blue halter, with painter tape. Very wide straps, hmm... Not so good. But they are in better length, the halter is too inflexible to show how it really fits. Buckle is bad, blergh.


Third halter is brown. Buckle isn't nice (but it works), the 8 -rings aren't the best for Schleich halters, I see too. Unfortunately, this halter has flaws; folds in areas what aren't meand to look folded!


Fourth looks best and is practically a better version from previous one. This has no folds, no 8 -rings, and it has two hooks and a squared buckle! Well, I really needed to start enjoy of making small buckles with corners... Because it makes life so easy. I also made sure that THIS halter fits to my unfinished hannover mare CM, who is going to be a trotting finnhorse stallion. He has yarn mane (tested... found the idea of yarn from other blogs) who allows halters.


So, if anyone wonders what material to use for Schleich halters... Try paper. I personally find it useful, although leather really has things that make it at the end better material; you can punch holes to leather, not on paper, and adding thin straps to buckles is more safe in leather than paper.

I am making more paper halters at the future. In Schleich scale.